This post contains affiliate links.
Ever wondered how rocks turn into sparkling gems? Rock tumbling is the secret behind this magic. It’s a hobby that draws people of all ages. But what essential supplies do you need to start your own collection?
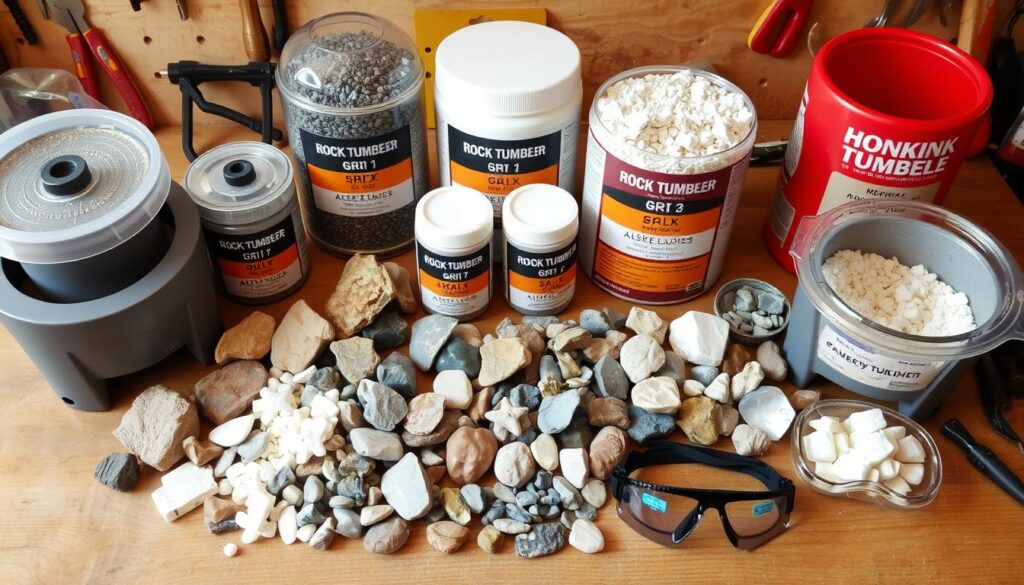
Rock tumbling polishes rough stones into smooth, shiny ones. To start, you’ll need some basic lapidary equipment. A dual-barrel rotary rock tumbler is a good choice. It lets you work on different rocks at the same time.
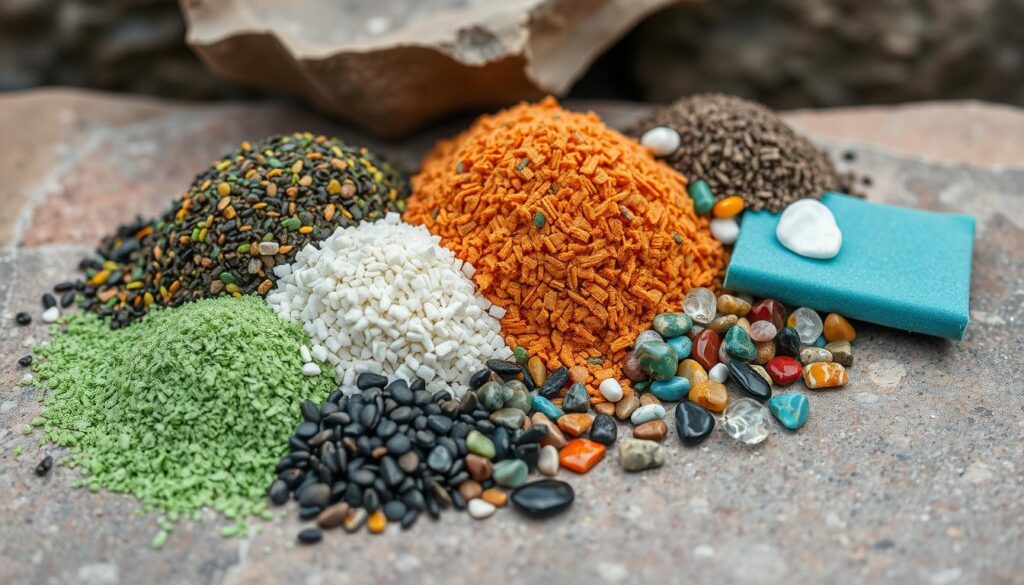
Quality grit and polish kits are key for a professional look. These kits have coarse, medium, and fine grits, plus pre-polish and polish compounds. For the best shine, use 1-3 micron micro-alumina for the final polish.
Don’t forget non-abrasive ceramic media for polishing. These tiny pieces protect your rocks from chipping. Ivory soap or Borax works great for cleaning between stages.
Lastly, get a plastic colander for rinsing and sorting your polished stones. With these supplies, you’re ready to create your own collection of polished gems.
Key Takeaways
- A dual-barrel rotary tumbler allows for processing different rock types simultaneously
- Quality grit and polish kits are essential for achieving a professional finish
- Non-abrasive ceramic media helps protect rocks during tumbling
- Soap or Borax is useful for cleaning between tumbling stages
- A plastic colander simplifies rinsing and sorting of tumbled stones
Understanding Rock Tumbling Basics
Rock tumbling is a fun hobby that turns rough stones into shiny gems. It’s like nature’s erosion but in a controlled way. Let’s explore the basics of this interesting craft.
How Natural Rock Polishing Occurs
In nature, rocks get polished over thousands of years. Water, sand, and rocks rub against each other, smoothing out edges. This natural process led to the invention of rock tumbling machines in the 1950s.
The Science Behind Rock Tumbling
Rock tumbling uses grit and media to mimic erosion. It has four stages, each with different grit sizes. You start with coarse grit and move to finer grits, ending with polish.
This process turns rough rocks into shiny gems. It’s a gradual refinement.
Benefits of Rock Tumbling as a Hobby
Rock tumbling has many benefits. It’s a hands-on way to learn about geology and mineral hardness. The Mohs scale helps choose the right rocks for tumbling.
Look for rocks with a hardness around 7, like agate or jasper. These can be found in places like Oregon, Arizona, and Montana.
This hobby also teaches patience and creativity. As you get better, you can make beautiful stones for collections or jewelry. It’s a fun activity for all ages, mixing science, art, and discovery.
Choosing the Right Rock Tumbler
Finding the right rock tumbler is key to a great polishing experience. Let’s look at the options to help you pick the perfect one for your adventures.
Rotary vs. Vibratory Tumblers
Rotary tumblers are perfect for beginners. They’re affordable and simple to use, taking 30-45 days to polish stones. Vibratory tumblers, though, are faster, finishing in 7-10 days. They use less grit and polish, saving you money.
Single Barrel vs. Dual Barrel Options
Single barrel tumblers are ideal for small projects or beginners. Dual barrel options, like the Lortone 33B, let you process different stages at once. This makes them great for rock tumbling enthusiasts who like to try different stones and grits.
Top Recommended Tumbler Models
The Lortone 33B is known for quality and durability. It has strong barrels and reliable motors. For those on a budget, the Chicago Electric dual barrel tumbler is a good choice. The Raytech Tumble-Vibe TV-5 is fast and great for experienced users.
| Tumbler Type | Processing Time | Ideal For | Maintenance |
|---|---|---|---|
| Rotary | 30-45 days | Beginners | Low |
| Vibratory | 7-10 days | Experienced users | High (grit change every 12 hours) |
Investing in a quality tumbler is worth it. It saves you from repairs and keeps your hobby fun for years.
Essential Rock Tumbling Supplies
Rock tumbling is a fun hobby that turns rough stones into shiny gems. To start, you need the right tools and parts. Let’s look at the key supplies for your rock tumbling journey.
Basic Equipment Checklist
Every rock lover needs a good set of supplies. Here’s a list of essential items:
- A reliable rock tumbler (rotary or vibratory)
- Grit and polish kit
- Cushioning media
- Cleaning supplies
- Colander for rinsing

Quality Considerations
Quality is crucial when it comes to rock tumbler accessories. Choose high-grade grit and polish for the best results. Ceramic media, with a Mohs hardness of 9+, is better than plastic pellets for most projects. Knowing the science behind rock tumbling helps pick the right supplies for your needs.
Where to Purchase Supplies
For top-notch rock tumbler parts and accessories, visit trusted lapidary stores. Stay away from generic online stores, as their low-quality kits can be a letdown. Look for brands like Lortone for tumblers, priced between $179 to $349. Expect to spend $15 to $35 for a 2-pound package of tumbling rough. The Rock Shed is a great place for grit and other tumbling needs.
| Item | Average Price Range |
|---|---|
| Rock Tumblers | $200 – $400 |
| Tumbling Rough (2 lbs) | $15 – $35 |
| Rock Hounding Kit | $79.94 |
Choosing quality supplies from trusted sources ensures a fulfilling rock tumbling experience.
Rock Tumbling Grit Selection Guide
Choosing the right rock tumbling grit is key to stunning results. This guide will help you pick the best materials for each stage. This ensures your rocks turn out beautifully polished.
Coarse Grit Applications
Coarse grit, like 60/90, is for the first stage. It shapes rough rocks and removes sharp edges. Start with coarse grit in your 7-day cycle, tumbling 24 hours a day. Don’t reuse coarse grit to keep it effective.
Medium and Fine Grit Uses
Medium and fine grits smooth out rocks after shaping. They prepare rocks for polishing. Like coarse grit, tumble for 7 days, 24 hours a day. Check your rocks often to see how they’re doing.
Pre-polish and Polish Compounds
The last steps use pre-polish and polish compounds. High-quality shops sell the best compounds for a brilliant shine. These are key for a high-luster finish on your rocks.
| Grit Type | Stage | Duration | Purpose |
|---|---|---|---|
| Coarse (60/90) | 1 | 7 days | Initial shaping |
| Medium | 2 | 7 days | Smoothing |
| Fine | 3 | 7 days | Further smoothing |
| Pre-polish | 4 | 7 days | Preparing for polish |
| Polish | 5 | 7 days | Final shine |
For great value, buy grit kits from trusted shops. These kits cost about $4.60 per barrel, offering quality and more product than generic stores. Follow this guide and use the right grit to polish your stones beautifully.
Tumbling Media and Cushioning Materials
Rock tumbling media is key in polishing rocks. They protect your rocks and spread out the polish evenly. Let’s explore the different types of tumbling media you can use.

Ceramic media is a favorite among rock tumblers. It’s tough, can be reused, and is better for the environment than plastic. Choose ceramic media that matches your rock’s hardness for the best results. A mix of big and small pieces usually works best.
Plastic tumbling media is also useful. It’s lighter than ceramic and gives a smooth finish, but less shiny. It’s great for softer materials like brass and aluminum. Ceramic media, on the other hand, is better for cutting hard metals.
| Media Type | Best Use | Finish |
|---|---|---|
| Ceramic | Hard metals, heavy cutting | Shiny |
| Plastic | Soft metals (brass, aluminum) | Smooth, less shine |
Size matters in tumbling media. Big media cuts fast and rounds edges, while small media cuts slower but finer. Mixing two parts small media with one part large media is a good mix for the best results.
Quality supplies are crucial for great results. Invest in good tumbling media to take your rock polishing hobby to the next level.
Selecting Rocks for Tumbling
Choosing the right rocks is key for successful rock tumbling. The right rocks can make your hobby exciting, even if you’re new. Let’s look at the best rocks for beginners, hardness, and popular gemstones.
Best Rocks for Beginners
Start with harder rocks that polish well. Jasper and agate are great for beginners. They are durable, have interesting patterns, and polish brightly. They’re perfect for small tumblers, which hold less than 2 cups of water.
Choose rocks between 3/8 inch and 1 1/4 inches for best results. This size works well in small barrels and ensures even tumbling. Good tumbling rocks have a smooth texture and don’t make debris when rubbed together.
Hardness Scale Considerations
The Mohs scale of hardness is important when picking rocks. Rocks with a hardness of seven are best for beginners. This hardness level means the rocks can handle tumbling and polish well.
| Hardness | Suitability for Tumbling | Examples |
|---|---|---|
| 1-5 | Too soft, may disintegrate | Talc, Gypsum |
| 6-7 | Ideal for tumbling | Agate, Jasper, Quartz |
| 8-10 | Too hard, difficult to polish | Topaz, Corundum, Diamond |
Popular Gemstone Options
Many gemstones are popular for rock tumbling. Quartz varieties like amethyst, rose quartz, and smoky quartz are common. Aventurine, with its glittering inclusions, is also a favorite for tumbling and jewelry making.
Petrified wood is loved for its colorful appearance and preserved plant structures. Obsidian, a volcanic rock, is also popular. Varieties like mahogany obsidian and Apache tears are common choices.
When picking rocks, think about their color, pattern, and polish potential. Avoid rocks with voids, pore spaces, or fractures. With the right rock tumbling supplies and chosen stones, you’ll create beautiful polished gems.
Essential Cleaning and Maintenance Tools
Keeping your rock tumbling supplies clean is crucial for great polishing. You’ll need a few key tools to keep your equipment and rocks in top shape. A plastic colander with small holes is perfect for rinsing rocks and media between stages. Also, use separate containers for each tumbling phase to avoid mixing things up.
For cleaning rocks and barrels, Borax or Ivory bar soap work well. These gentle cleansers get rid of residue without harming your stones. Regular rock tumbler maintenance helps your equipment last longer and gives you better results.
Make sure to check your tumbler’s belts and bearings often. Some models, like Thumler’s Tumblers, need special care:
- Models with four bearings need monthly cleaning and oiling
- Fasco motor tumblers require oiling after each batch
- P-TECH motor tumblers have sealed bearings and don’t need oiling
Use 3-IN-ONE oil for lubrication, adding one drop per bearing monthly. This simple step cuts down on squeaking and makes parts last longer. Taking good care of your rock tumbling supplies means better-polished gems and a smoother process.
Storage and Organization Solutions
Keeping your rock tumbler accessories and lapidary equipment organized is key for a smooth process. The right storage solutions save time and keep your space tidy. Here are some practical tips to boost your rock tumbling efficiency.
Container Types and Uses
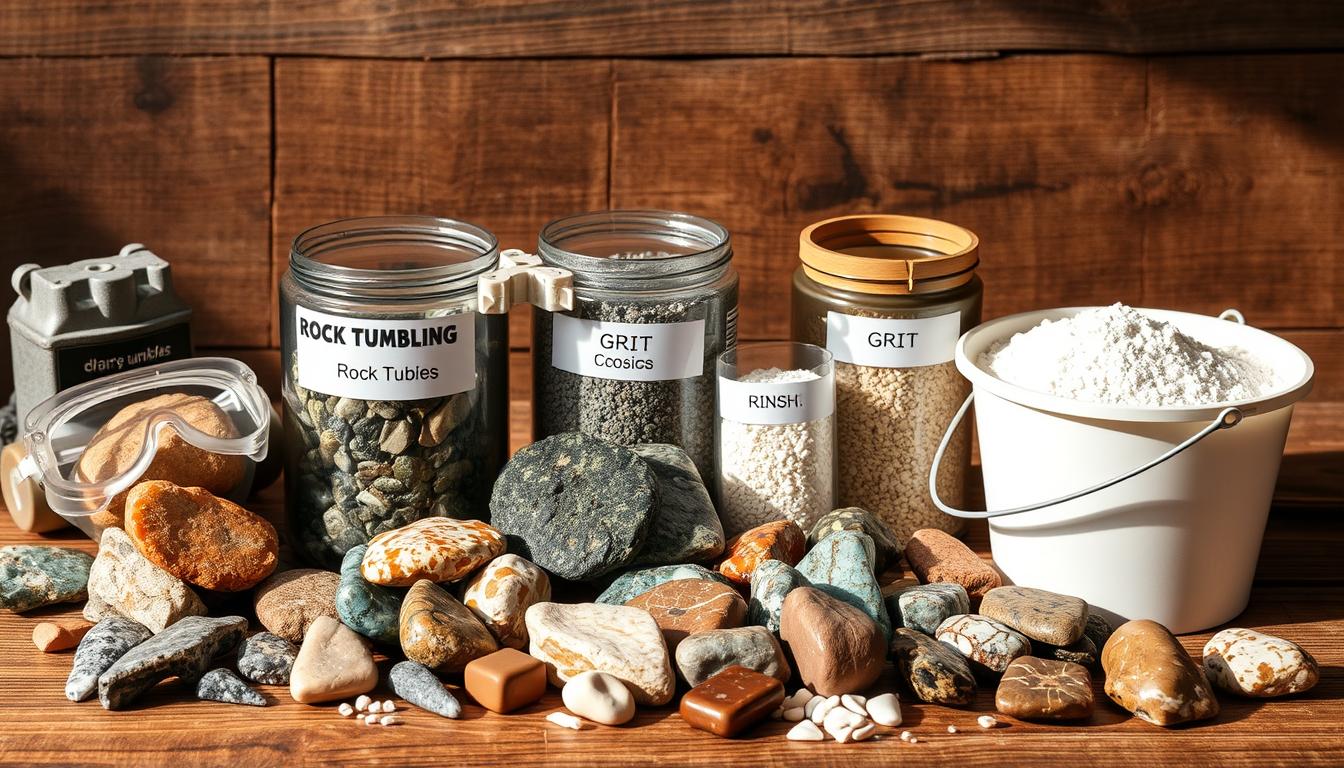
Get plastic containers with tight lids for grits, polishes, and tumbled rocks. They protect your supplies from moisture and are easy to access. For big items like tumbler barrels, sturdy shelving is a good choice. A deep sink with running water is also crucial for filling tumblers and cleaning.
Labeling Systems
Make a clear labeling system for all your supplies and finished stones. Use waterproof labels or a label maker to mark containers. This makes it easy to find materials and track your inventory. Good lighting near your work area is also important for inspecting stones and reading labels.
Workshop Organization Tips
Set up your workshop in a basement with a solid concrete floor for stability. Create specific areas for each tumbling stage, keeping tools and supplies handy. Use wastebaskets for disposing of used grit and rock dust. Dry storage space is essential for rocks, supplies, and tools. With proper organization, rock tumbling becomes more efficient and enjoyable.
FAQ
What are the essential supplies needed for rock tumbling?
How does rock tumbling work?
What’s the difference between rotary and vibratory tumblers?
Where should I buy rock tumbling supplies?
What types of grit do I need for rock tumbling?
Why is cushioning media important in rock tumbling?
What are the best rocks for beginners to tumble?
How do I clean my rocks and tumbler between stages?
How should I store my rock tumbling supplies?
How do I maintain my rock tumbler?
This post contains affiliate links.

