This post contains affiliate links.
Everything You Need to Know
Introduction
Rock tumbling, a fascinating hobby that has captivated enthusiasts for decades, involves transforming rough rocks into polished gems. Ideal for beginners of all ages, this guide will walk you through the basics of rock tumbling, offering essential insights and tips to start your journey into this rewarding pastime.
What is Rock Tumbling?
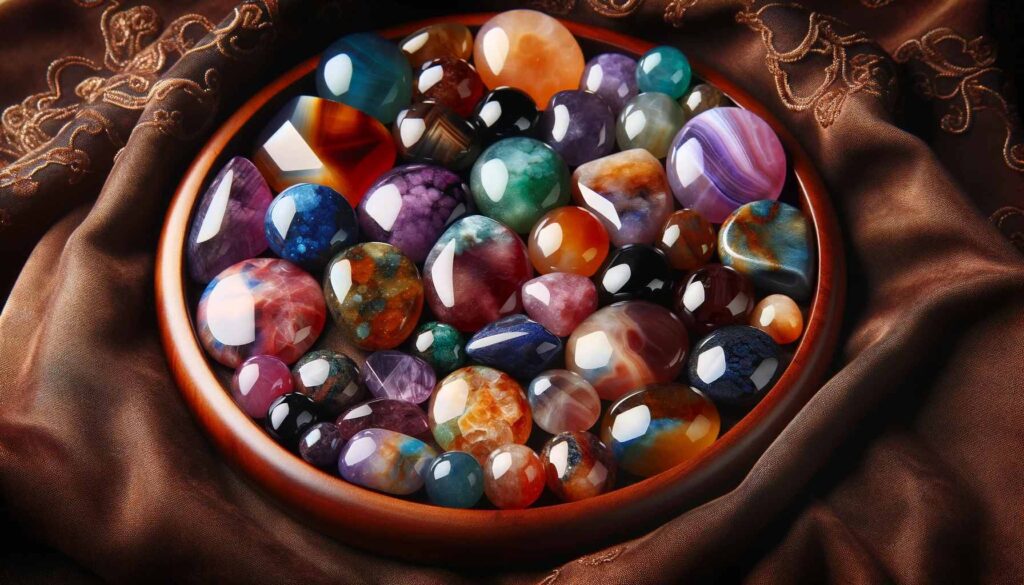
Rock tumbling is the process of smoothing and polishing rough rocks using a machine called a rock tumbler. This process mimics natural forces like river water and sand, which over time, erode rocks into smooth, polished stones. The result is beautifully polished stones that can be used for jewelry, decoration, or collection.

Choosing a Rock Tumbler
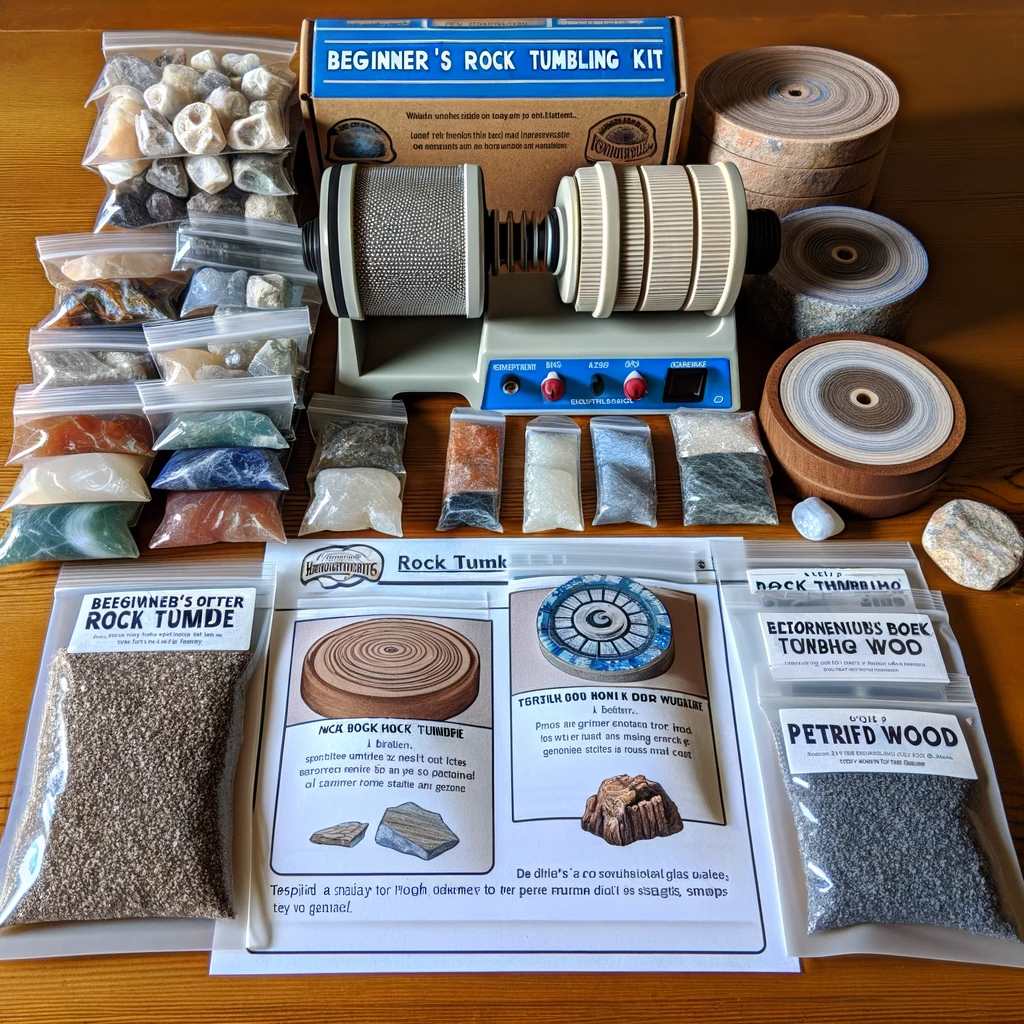
Selecting the right rock tumbler is crucial. There are two main types: rotary and vibratory tumblers.
- Rotary Tumblers: These are perfect for beginners. They mimic the natural tumbling action of riverbeds and are great for shaping stones.
- Vibratory Tumblers: Faster than rotary tumblers, they are used mainly for polishing rather than shaping.
When choosing a tumbler, consider its size, type, durability, and noise level. For beginners, a small to medium-sized rotary tumbler is typically recommended.
Types of Rocks to Tumble
Not all rocks are suitable for tumbling. Good choices for beginners include:
- Quartz: Such as amethyst and jasper.
- Agates: Known for their hardness and variety of colors.
- Petrified Wood: Offers a unique, fossilized beauty.
Avoid rocks with deep cracks or pores, as they may break during tumbling.
The Tumbling Process

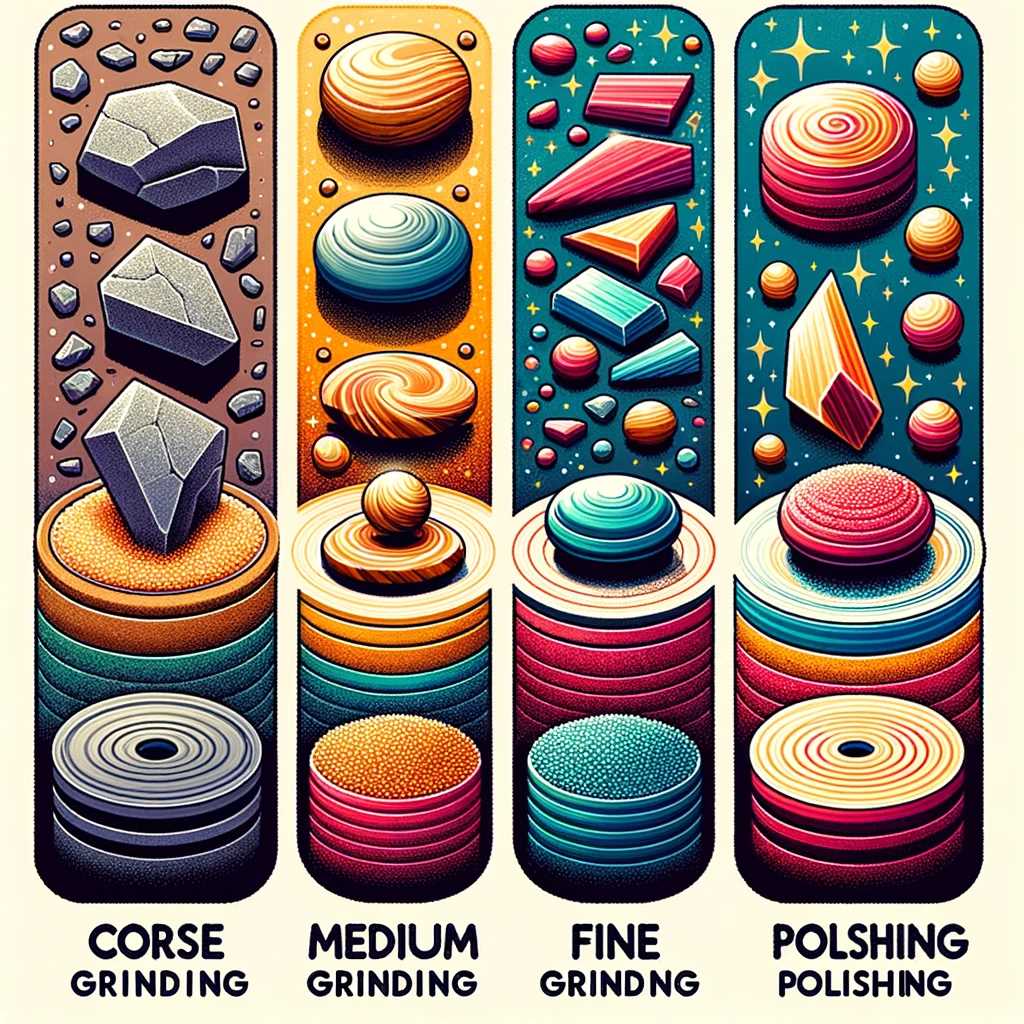
Rock tumbling is done in stages, each requiring different grits and duration:
- Coarse Grinding: The first step uses coarse grit to shape the rocks.
- Medium Grinding: This step uses a finer grit for further smoothing.
- Fine Grinding: Here, a very fine grit is used to prepare the rocks for polishing.
- Polishing: The final step uses a polishing compound to give the rocks a brilliant shine.
Each stage typically lasts about one week, making the entire process take around four weeks.
Preparing Your Rocks
Before tumbling, prepare your rocks by cleaning them and ensuring they are the right size for your tumbler. Rocks should be similar in hardness and size for the best results.
Loading the Tumbler
When loading your tumbler, follow these steps:
- Fill the Barrel: Add rocks until the barrel is about ⅔ to ¾ full.
- Add Grit and Water: Add the appropriate grit and enough water to barely cover the rocks.
- Seal and Tumble: Secure the barrel and start the tumbler.
Maintaining Your Tumbler
Proper maintenance of your tumbler is essential:
- Clean Thoroughly: After each tumbling stage, clean the barrel and rocks to prevent cross-contamination of grits.
- Regular Checks: Regularly check for leaks or wear and tear.
Safety Considerations
While rock tumbling is generally safe, consider the following:
- Noise: Tumblers can be noisy, so consider your workspace.
- Dust: Handle the grit and rock dust carefully to avoid inhalation.
Troubleshooting Common Problems
- Uneven Tumbling: Make sure the rocks are similar in hardness and size.
- Leakage: Ensure the barrel is sealed properly.
- Extended Tumbling Time: This might be needed for harder rocks.
Creative Uses of Tumbled Rocks

Once your rocks are polished, they can be used in various creative ways:
- Jewelry Making: Create beautiful necklaces, bracelets, or earrings.
- Home Decor: Use them as decorative elements in your home.
- Gifts: Give them as unique, handmade gifts.
Tips for Beginners
- Start Small: Begin with a small batch of rocks to learn the process.
- Record Keeping: Keep a log of your tumbling for reference.
- Join Communities: Online forums and local clubs can provide valuable advice and support.

Conclusion
Rock tumbling is an enjoyable and rewarding hobby that allows you to transform ordinary stones into extraordinary gems. By following this beginner’s guide, you are well on your way to mastering the art of rock tumbling. Embrace the journey, experiment with different rocks and techniques, and most importantly, enjoy the process of uncovering the hidden beauty of nature’s treasures.
FAQs
- How long does rock tumbling take?
- Typically, it takes about 4 weeks, one week for each of the four stages.
- Can I tumble different types of rocks together?
- It’s best to tumble rocks of similar hardness together to ensure uniform results.
- How much does a good rock tumbler cost?
- Prices vary, but a decent beginner’s tumbler can range from $50 to $100.
- Is rock tumbling expensive?
- The initial investment (tumbler, grit, rocks) can be moderate, but once set up, the ongoing costs are relatively low.
- Can kids do rock tumbling?
- Yes, with supervision, rock tumbling can be a great educational activity for kids.
This post contains affiliate links.

